Create a Fake Facebook Post using our Best Facebook Status Generator 2018 and prank your friends by sharing the generated image by our generated fake facebook posts or fake facebook status .Here is the complete step by step tutorial on How to Make Facebook Post or Status.
Step1:-
Open your web browser and go to “https://generatestatus.com” or “http://thefakestatus.com”. When website is loaded go to the menu item “Fake Generators” and select the “Best Facebook Status Generator 2018” from the list.

Step2:-
Now you will see the fake facebook status generator page.At the top of the page there is a short description about the fake facebook status and some guidelines how to use it.

Step3:-
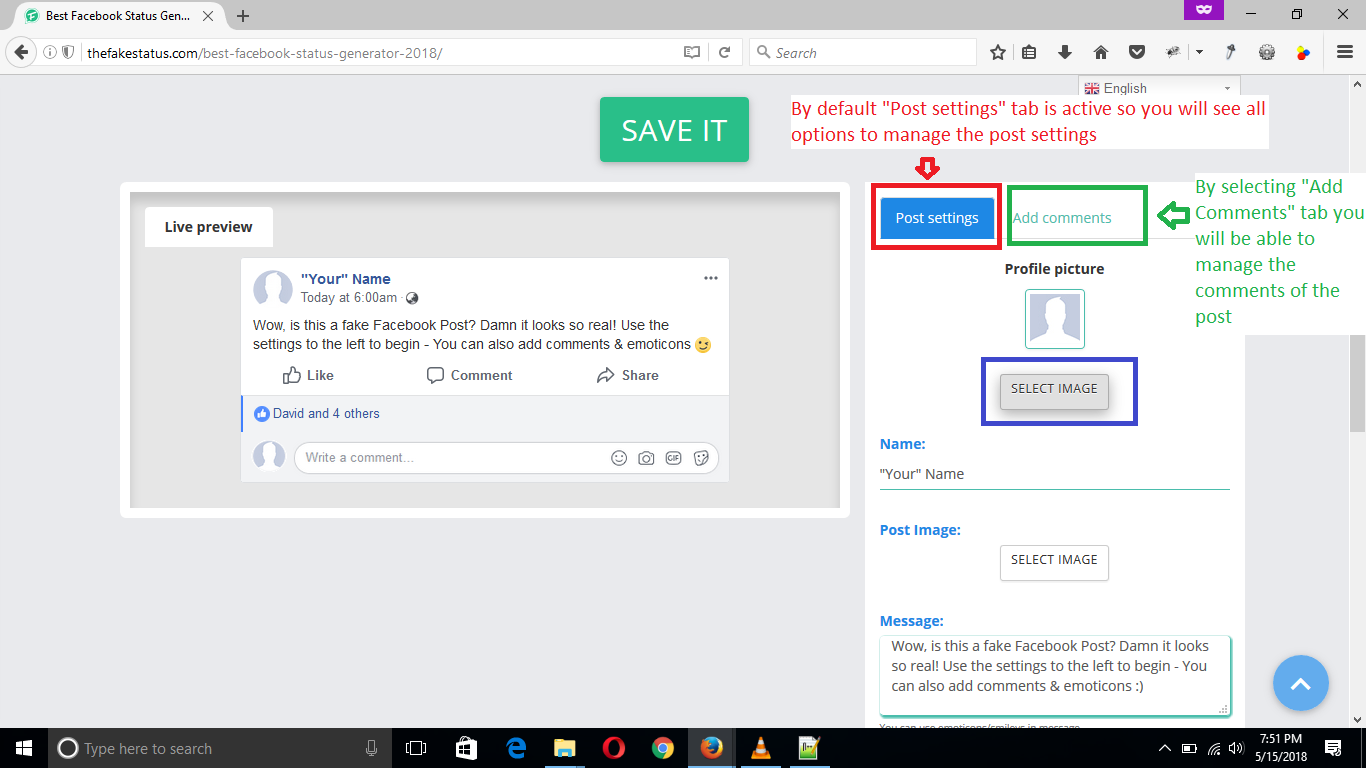
Scroll down the page below and there you will see a interface to MAKE A FAKE FACEBOOK POST .Left hand box is the live preview of how you fake facebook post will look like while from right side box you will be able to manage the fake facebook post content,images,comments and text.We will show you how to make changes step by step in next steps.

Step4:-
At the top of the right box you will see 2 tabs “Post Settings” and “Add comments”.By default “Post Settings” tab is active and you will see all options to manage the post settings while if you select the “Add Comments” tab then you will see all settings related to comments of the post.
Lets start with post settings options first…
(Changing Profile Picture)
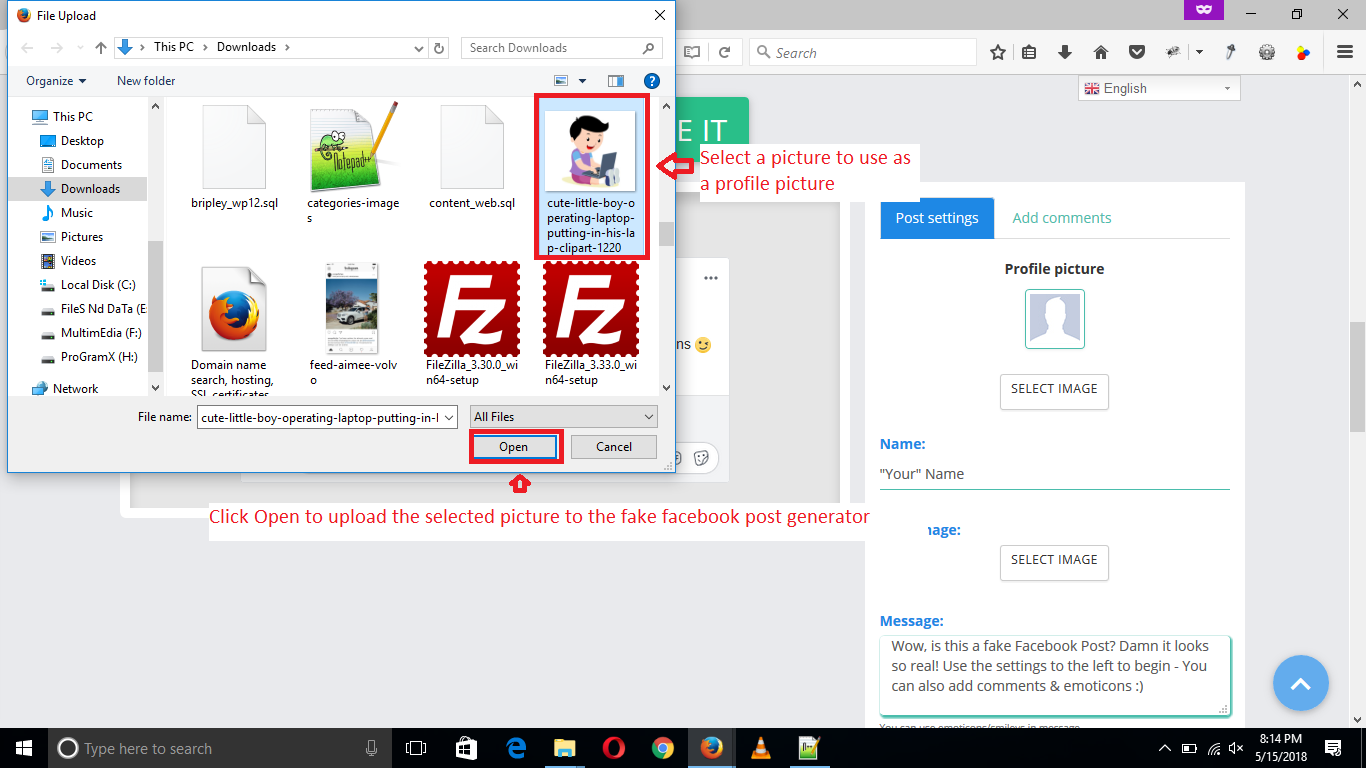
The first option in post settings tab is the profile picture,from here you can change the profile picture of your facebook post.Simply click on “Select Image” button and select the image form your device or computer to upload it to the Fake Facebook Post Generator.
After selecting the image hit “Enter” or click on the open button to upload the image.
Note: Image upload can take some time so be patient till the image is replaced by the new profile image uploaded by you.
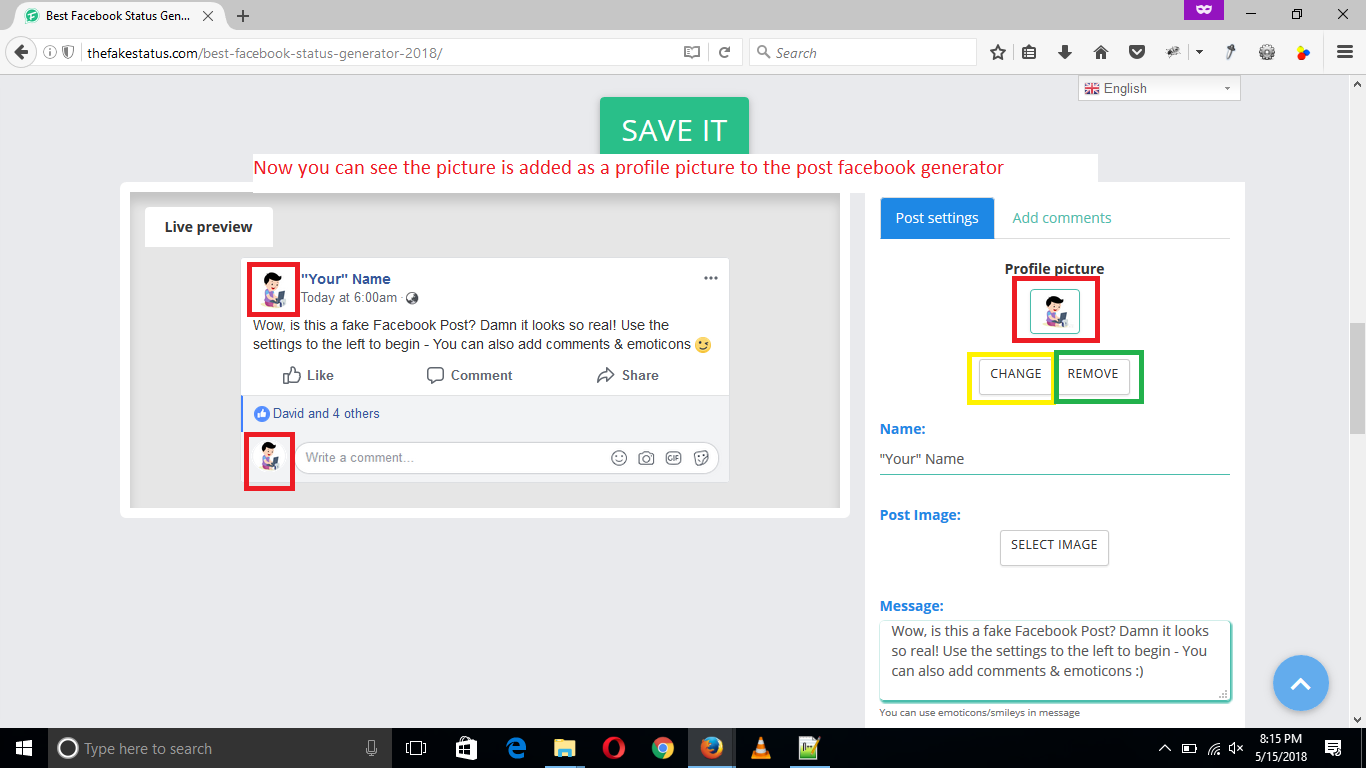
You will see the selected image is added a profile image to the fake facebook status interface.You can also change or remove the profile image later once its uploaded from the options “Change” or “Remove” under it.
(Changing Profile Name)
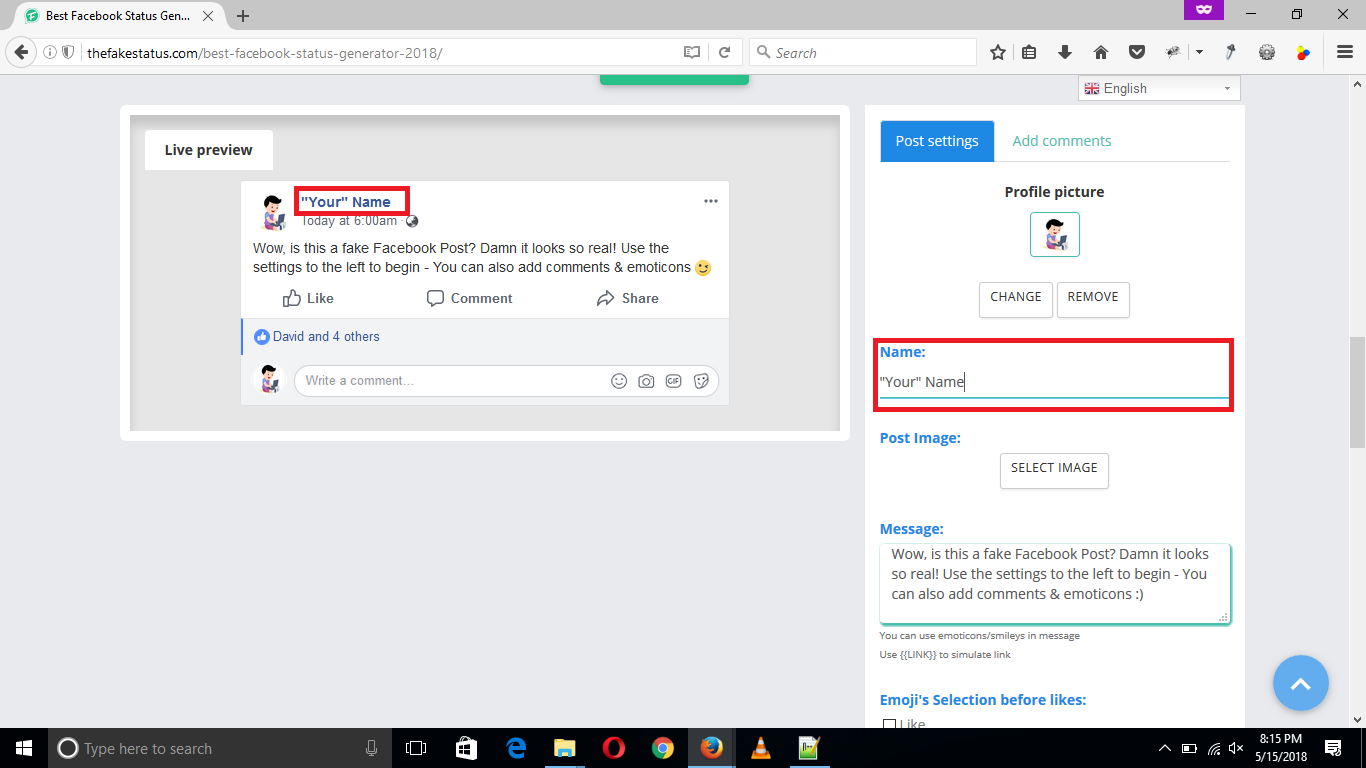
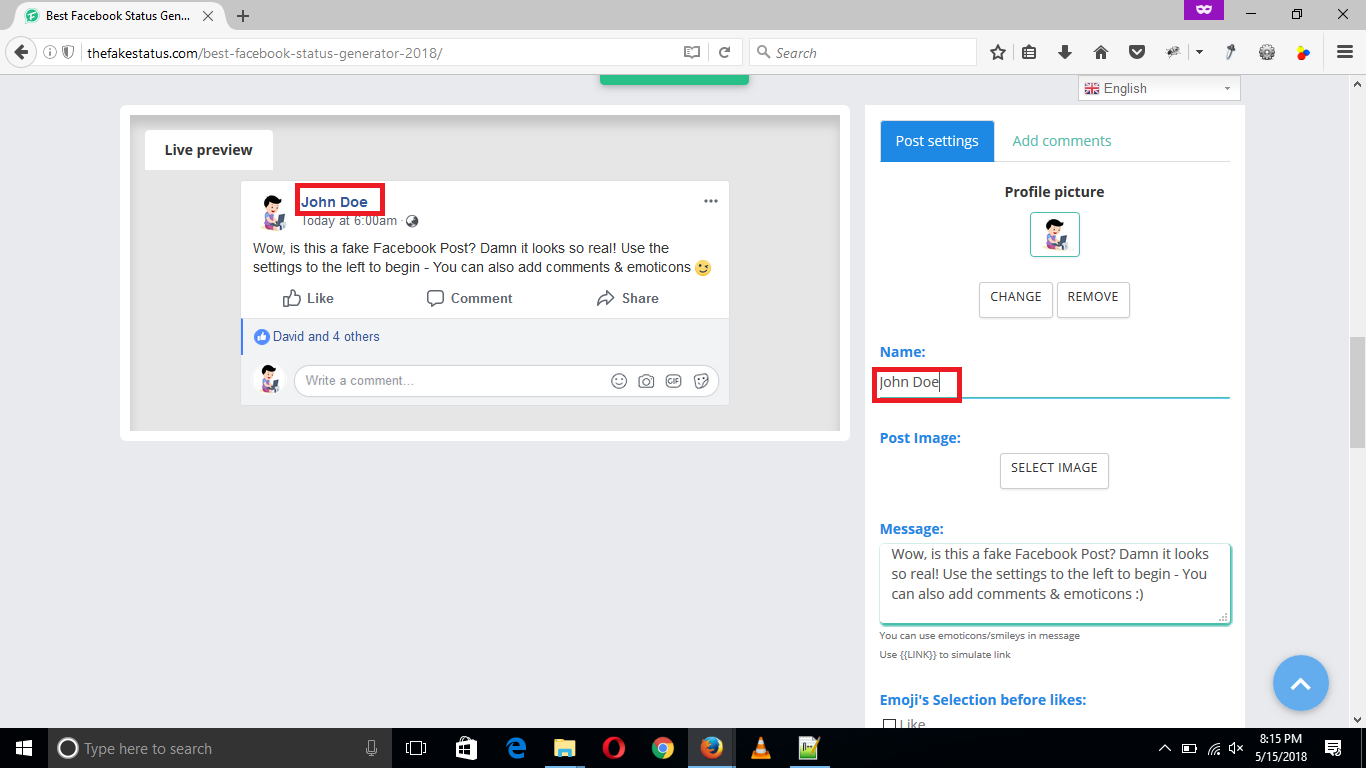
Just below the “Profile Picture” there is a heading “Name”, you can change the facebook post profile name from here.Simply type your name in the input field under the “Name” heading.You will see as you type new name it will be changed accordingly in the live preview section also.
(Changing Post Image)
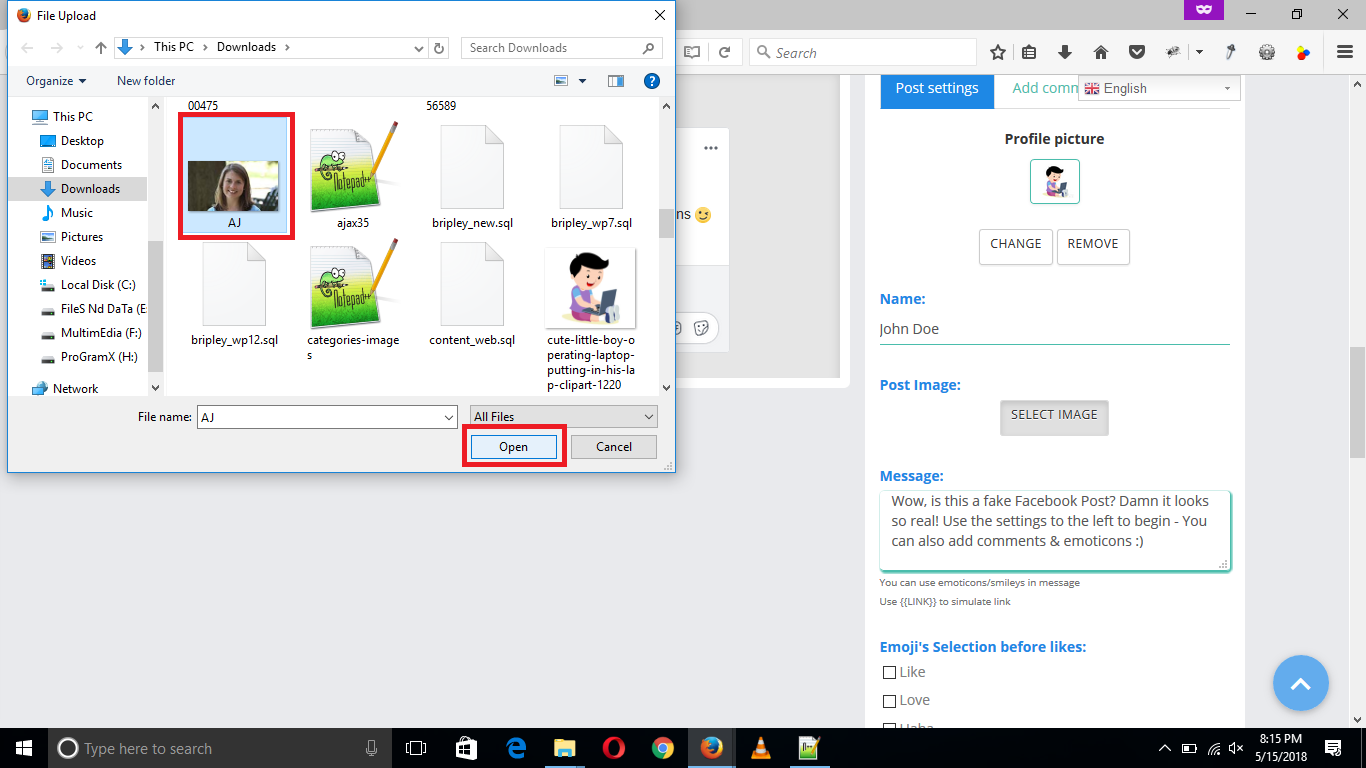
After the “Name” section there is “Post Image” option from where you can change the fake facebook post image.Simply click on “Select Image” button and select the image form your device or computer to upload it to the Fake Facebook Post Generator.
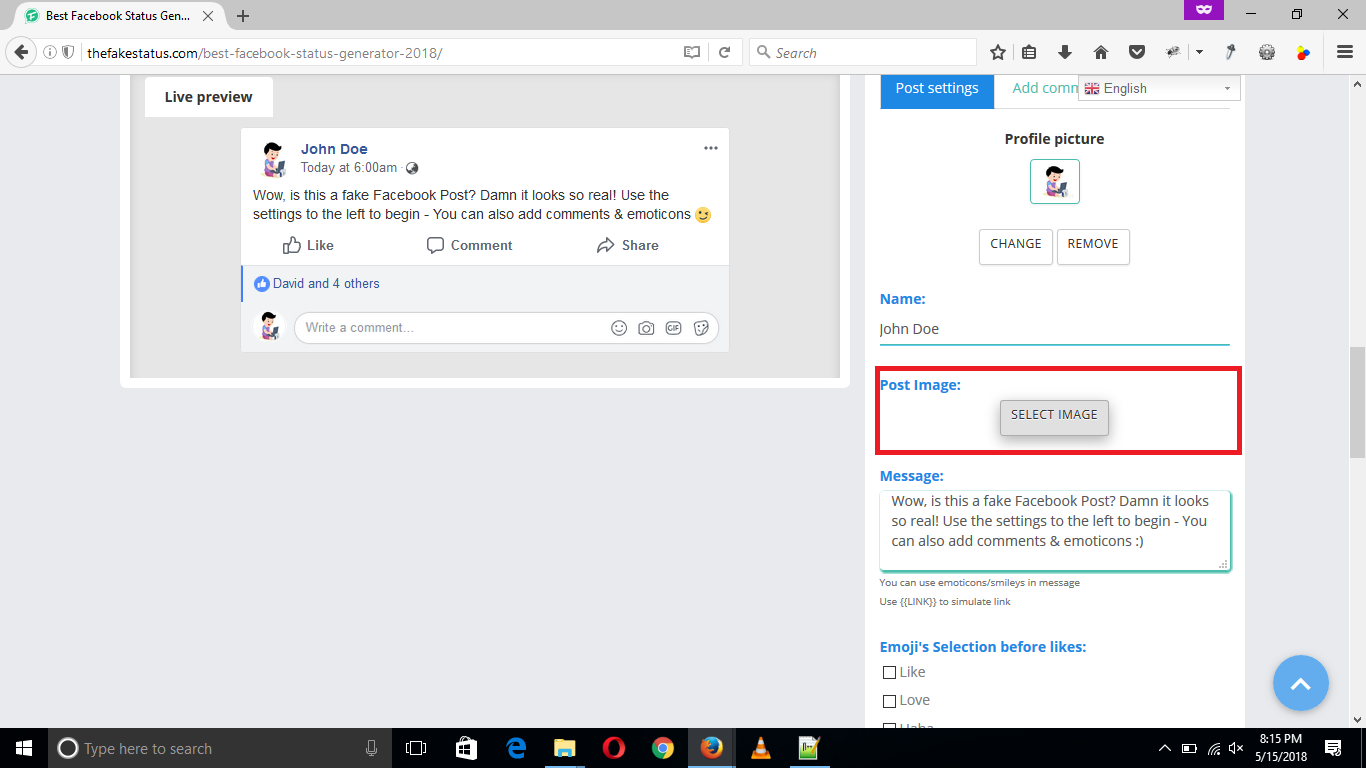
After selecting the image hit “Enter” or click on the open button to upload the image.
Note: Image upload can take some time so be patient till the image is added as the post image to the fake facebook post generator live preview.
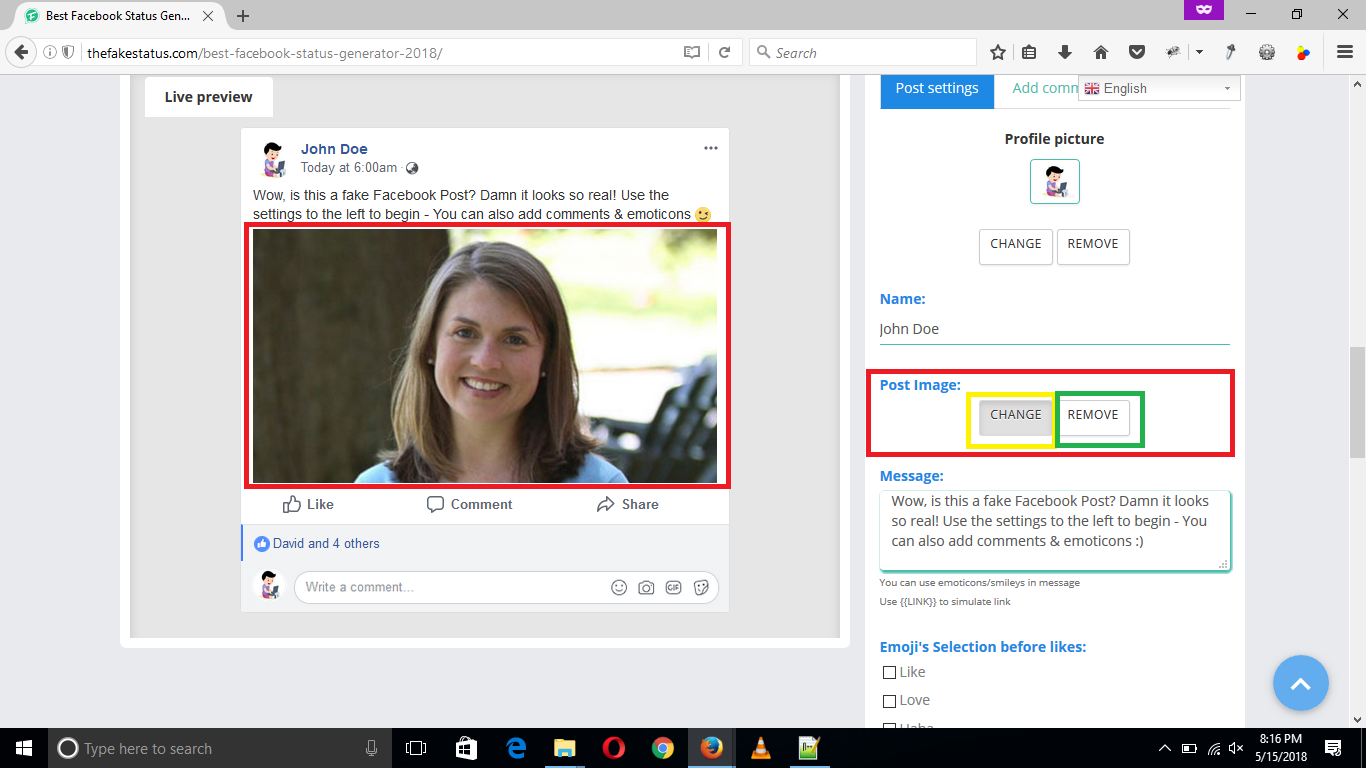
The selected image is added a post to the fake facebook status interface.You can also change or remove the post image later once uploaded from the options “Change” or “Remove” under it.
(Changing Post Message or Text)
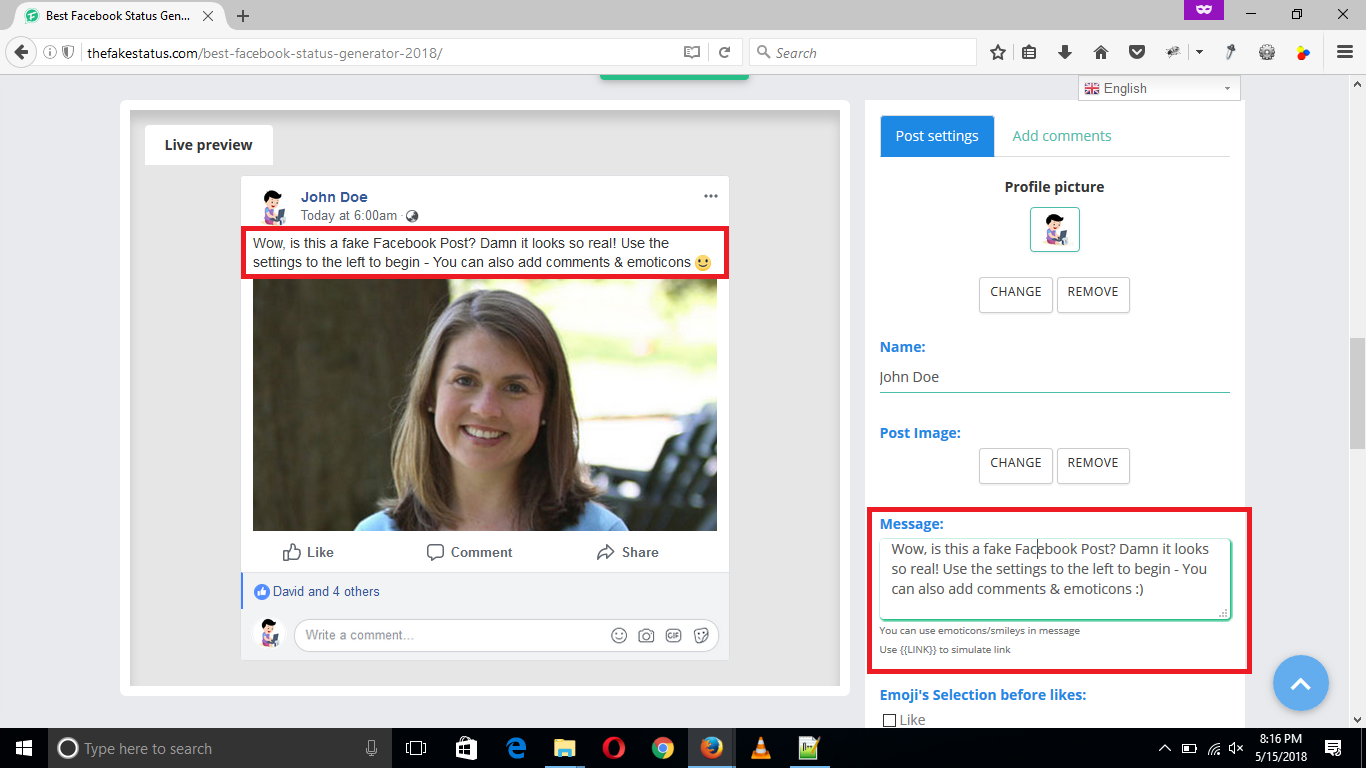
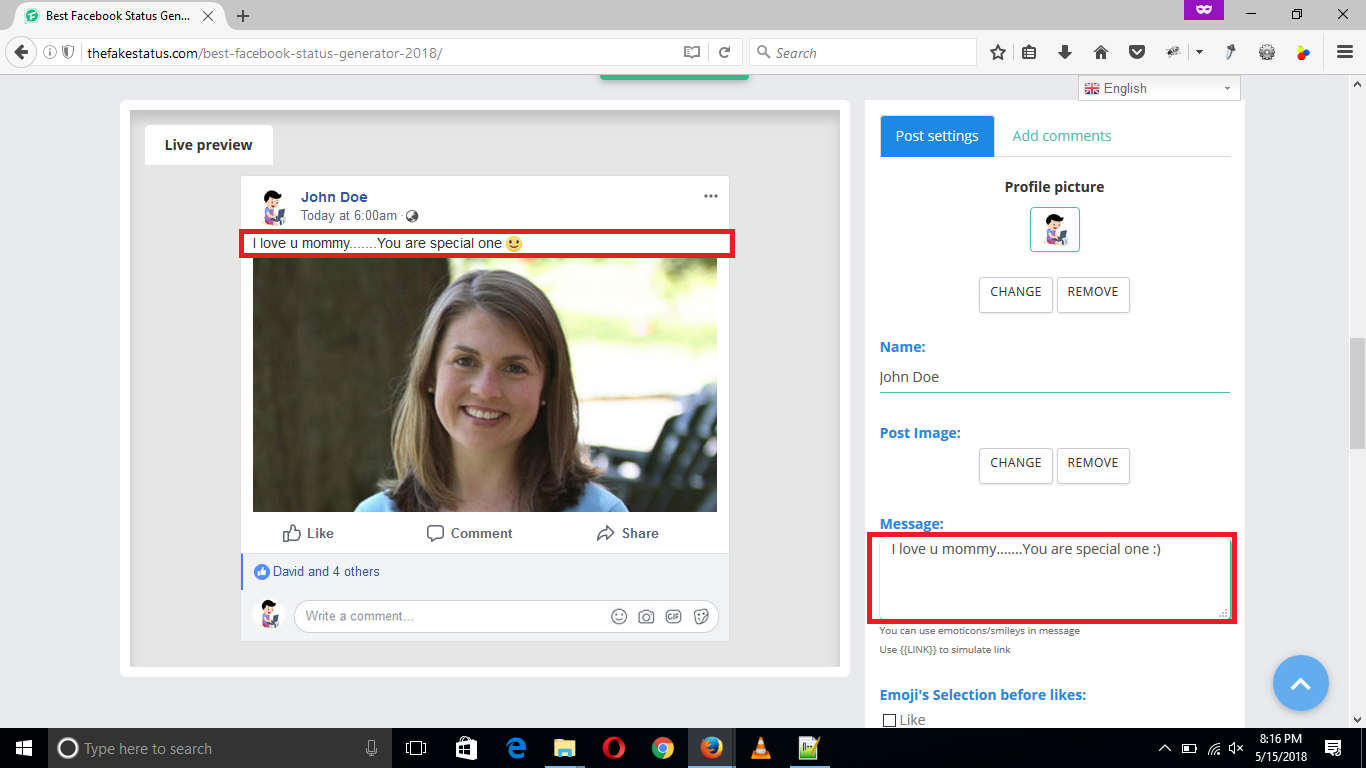
Just below the “Post Image” there is a heading “Message”, you can change the facebook post message or text from here.Simply type your message or post text in the input field under the “Message” heading.You will see as you type new text, it will be changed accordingly in the live preview section also.
(Adding Facebook Emoji’s and Smileys to the like section)
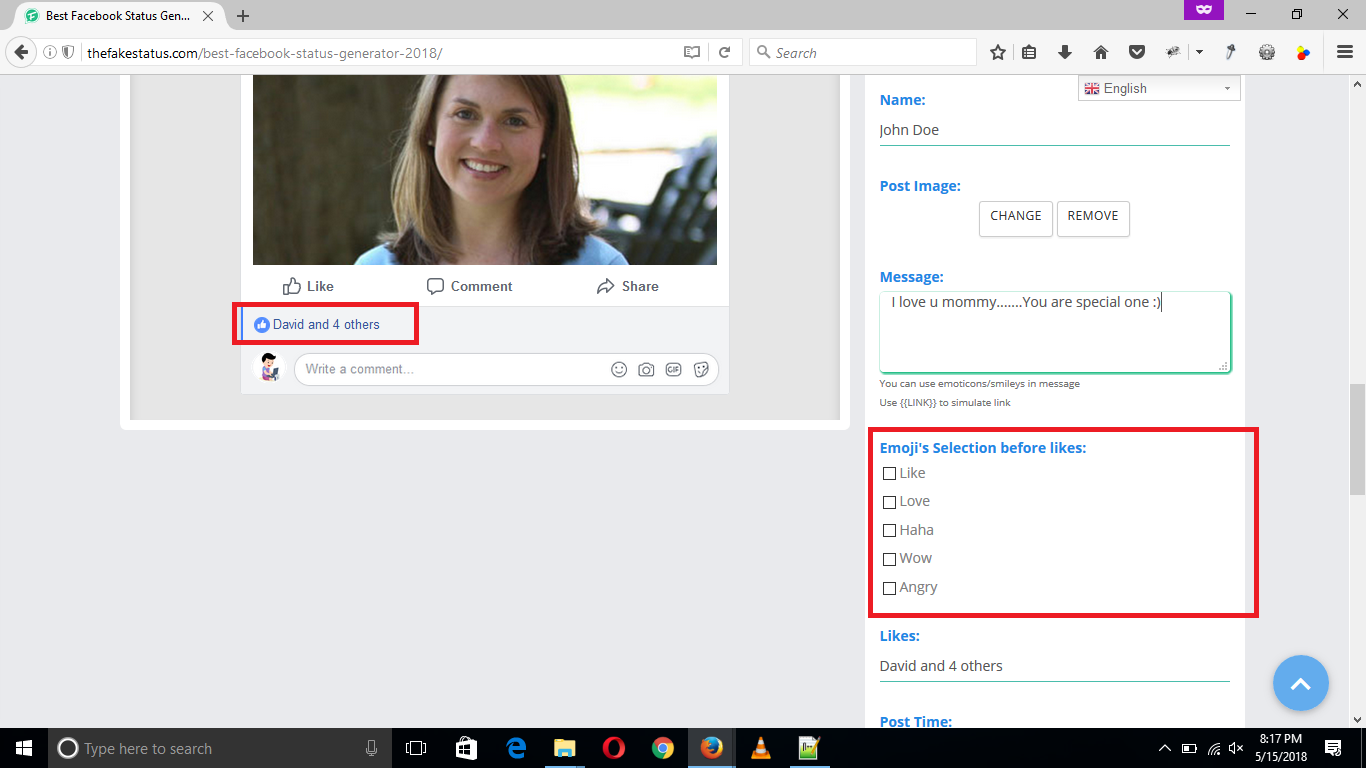
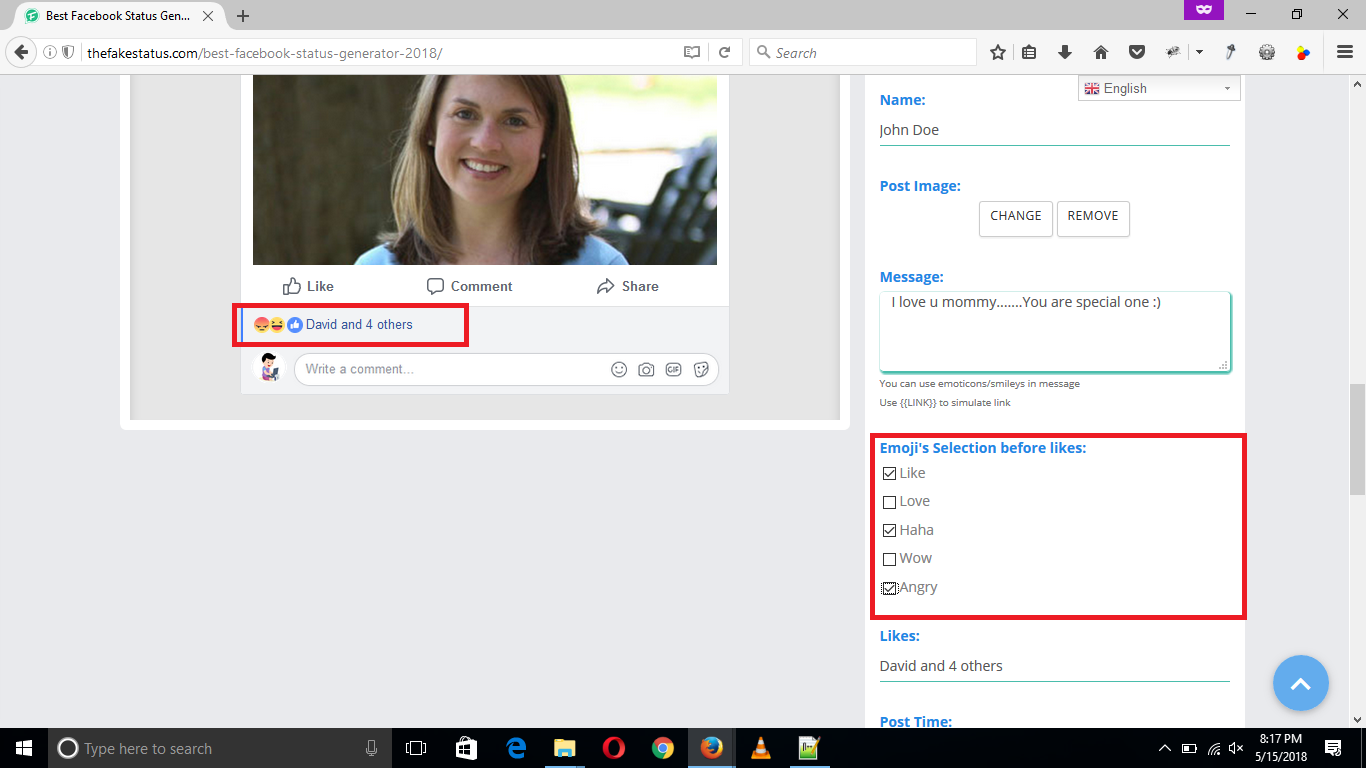
Just below the “Message” there is a heading “Emoji’s Selection before likes”, you can add the facebook emoji’s from here the like section.Simply select the or check the smiley you want to insert in the fake facebook post, You will see as you select a smiley it will be added accordingly in the live preview section also.
(Changing Number of Likes)
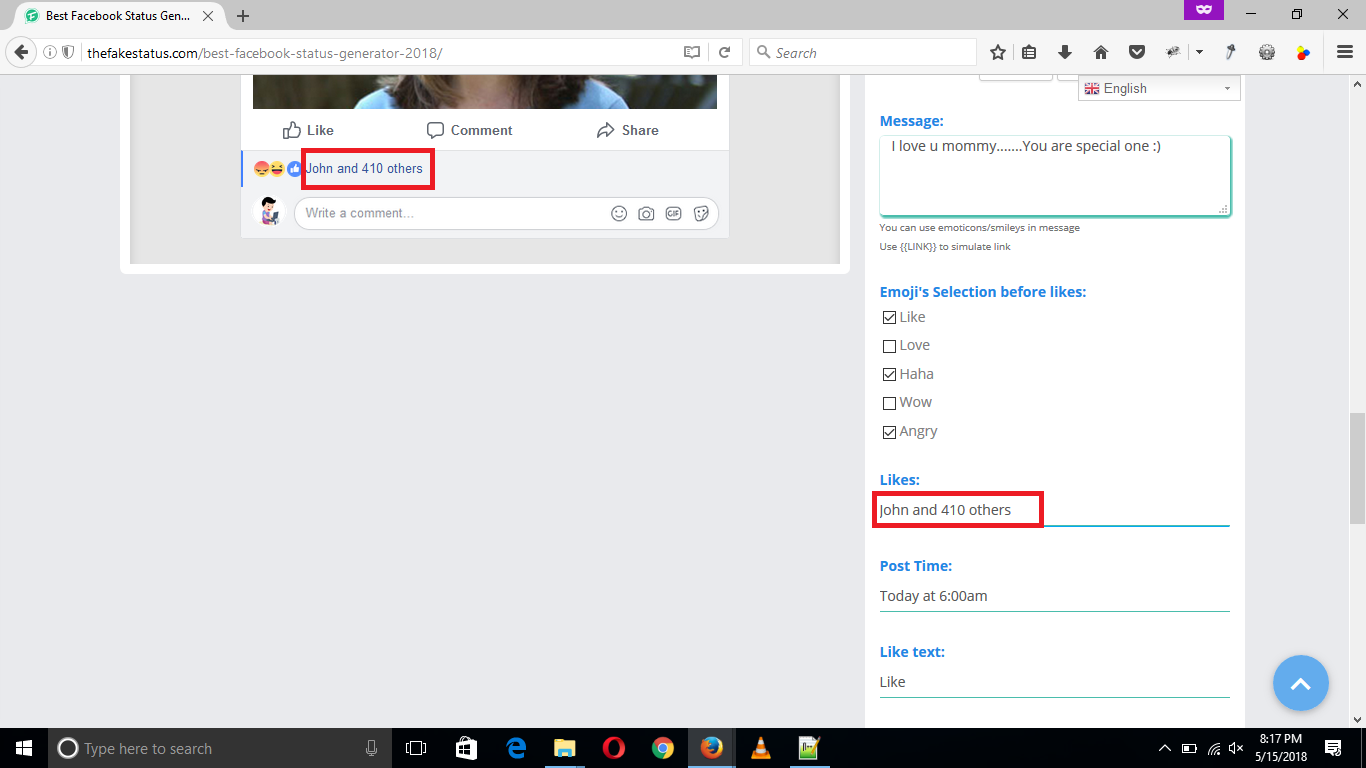
Just below the “Emoji’s Selection before likes” there is a heading “Likes”, you can change the facebook post likes from here.Simply type the text,names and number of likes in the input field under the “Likes” heading.You will see as you type new text, it will be changed accordingly in the live preview section also.

(Changing Post Time)
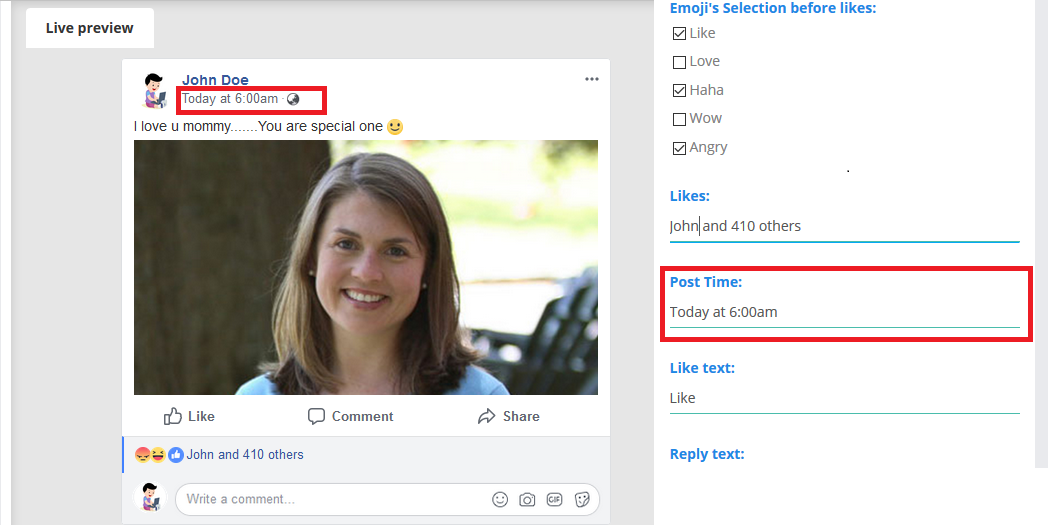
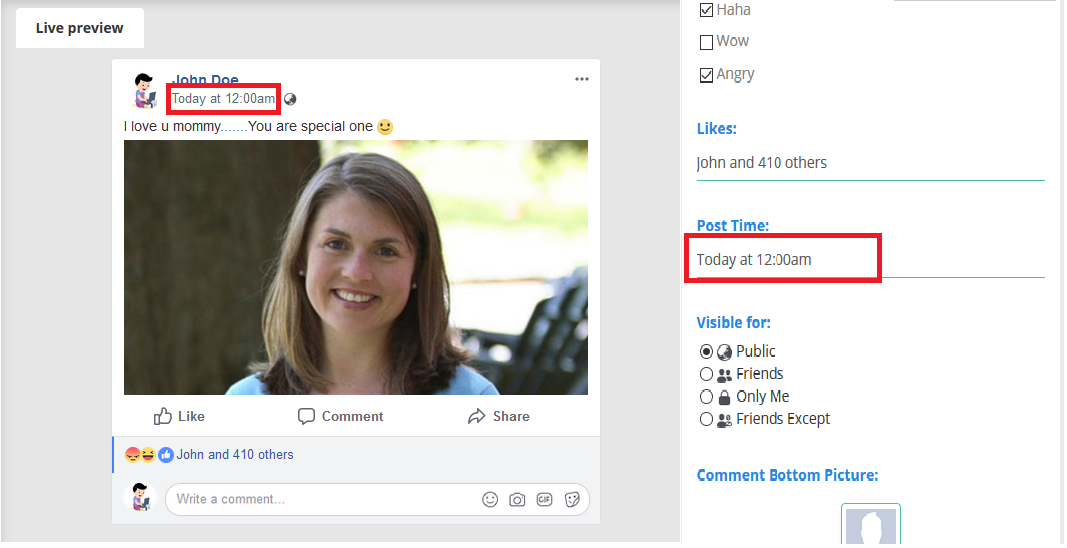
Just below the “Likes” there is a heading “Post Time”, you can change the facebook post time from here.Simply type the new time in the input field under the “Post Time” heading.You will see as you type new text, it will be changed accordingly in the live preview section also.
(Changing Post Visiblility Options)
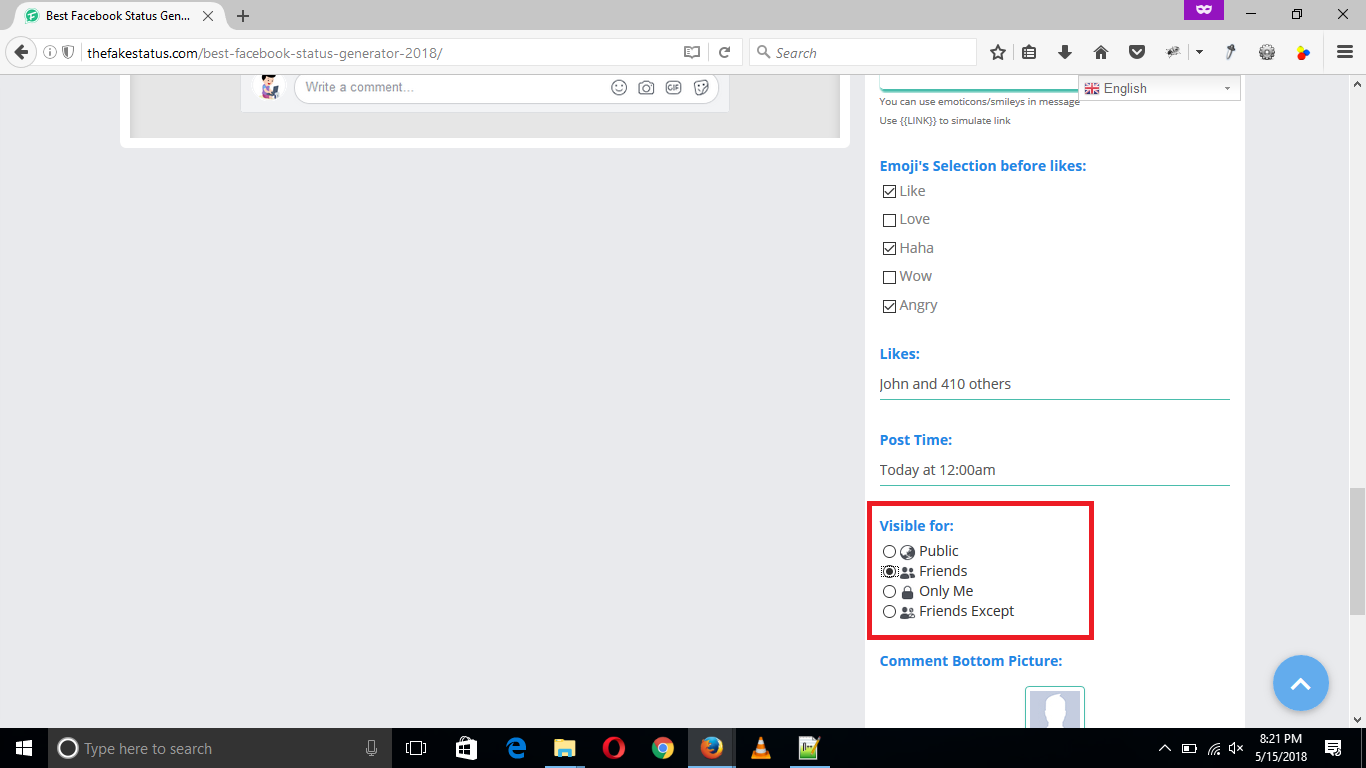
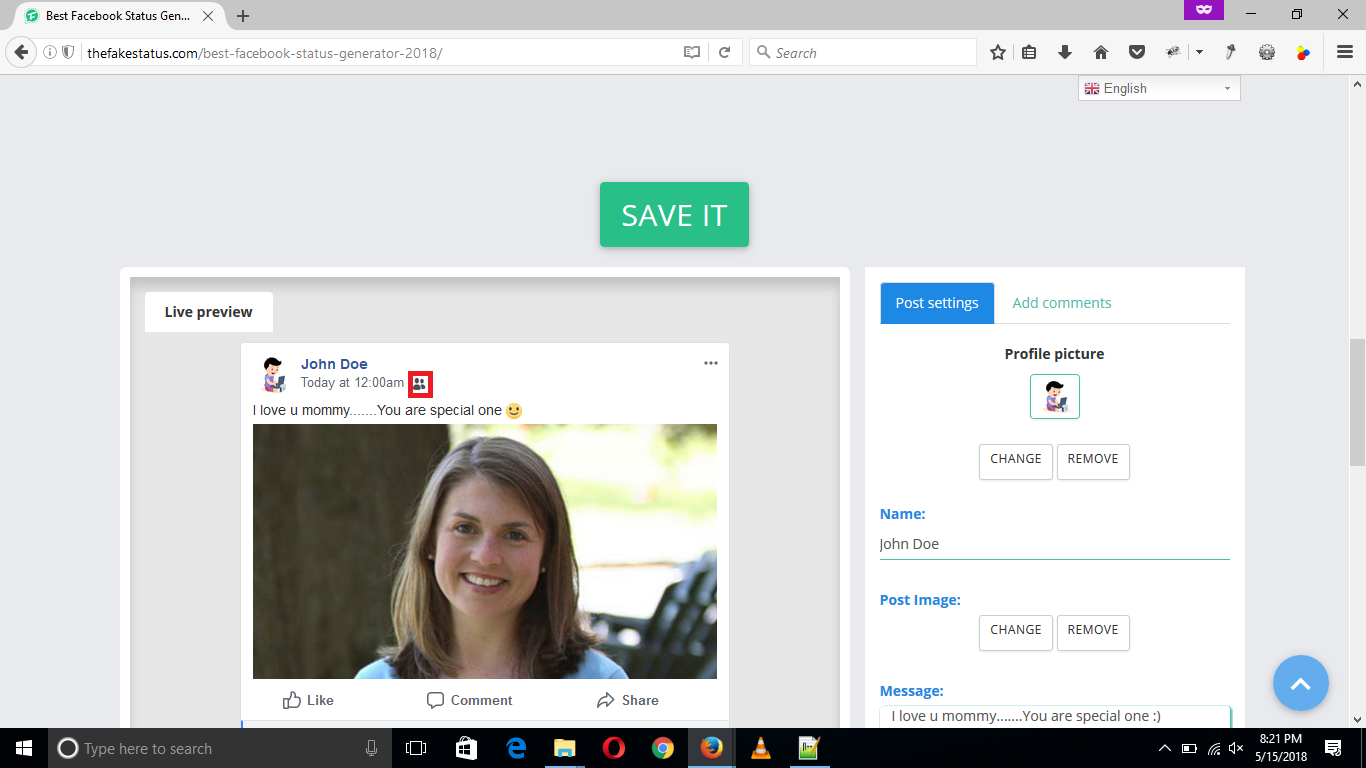
Just below the “Post Time” there is a heading “Visible for”, you can change the facebook post visiblilty options from here.Simply select the visibility option among public, friends, only me or friends except value under the “Visible for” heading.You will see as you select an option, it will be changed accordingly in the live preview section also.
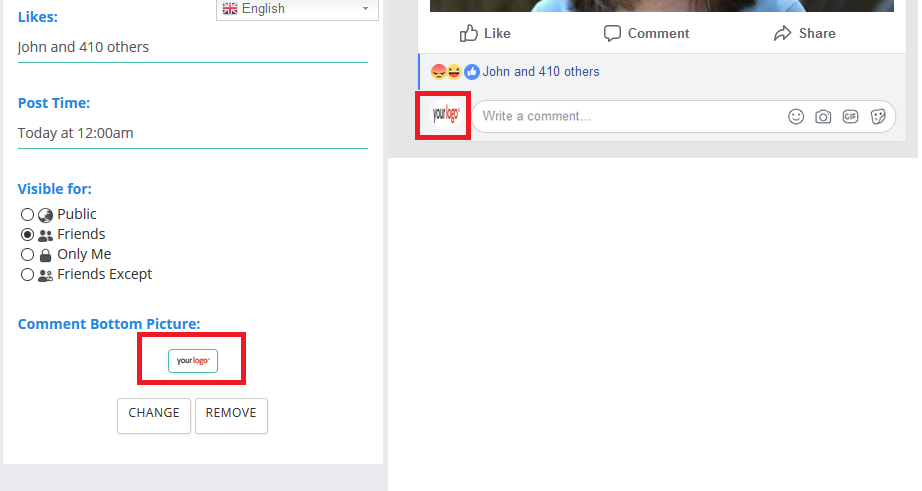
(Changing Comment Bottom Picture)
Just below the “Visible for” there is a heading Comment Bottom Picture, you can change the facebook comment bottom image from here.Simply click on “Select Image” button and select the image form your device or computer to upload it to the Fake Facebook Post Generator.
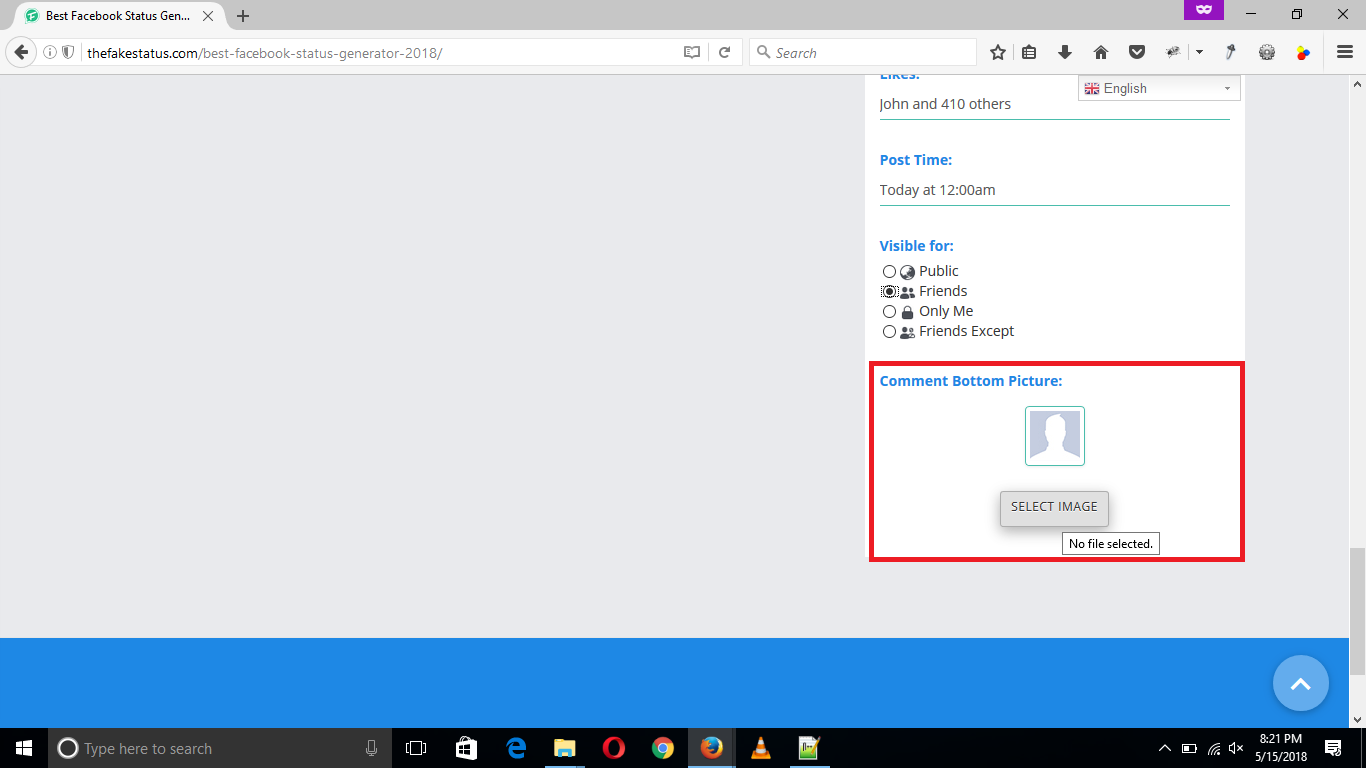
After selecting the image hit “Enter” or click on the open button to upload the image. You will see the selected image is added a post to the fake facebook status interface.You can also change or remove the post image later once its uploaded from the options “Change” or “Remove” under it.
Step5:-
The post settings are almost done now. Let us add the comments under the fake facebook post. To add a comment, first, select the “Add Comments” tab, and when you click on it will become active, and its color will change to blue. You will also notice that options under the add comment section are also changed accordingly.
Lets see how to add comments under the fake facebook post step by step…
(Changing Profile Photo)
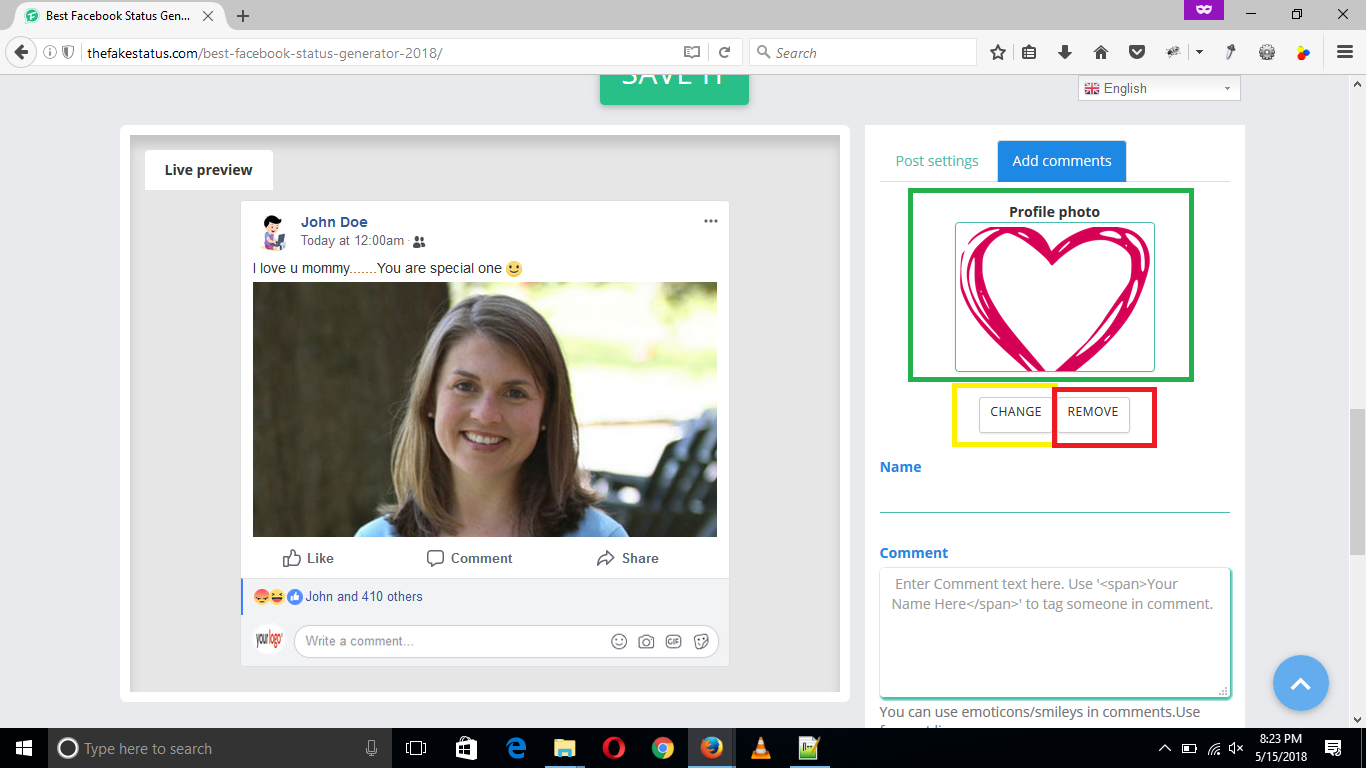
The first option in add comment settings tab is the profile photo; from here, you can change the profile picture of your commenting person. Click on the “Select Image” button and select the image from your device or computer to upload it to the Fake Facebook Post Generator.
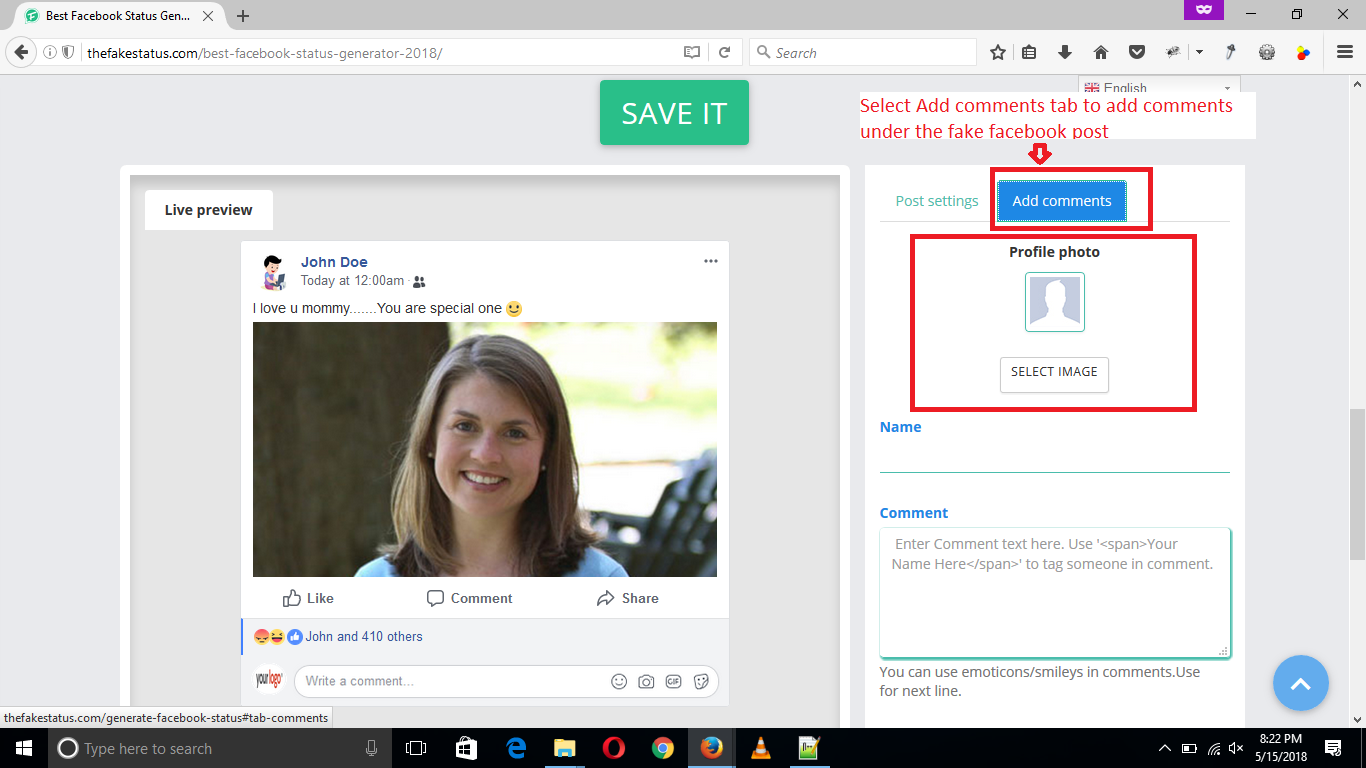
After selecting the image, hit “Enter” or click on the open button to upload the image.

(Adding Comment Options)
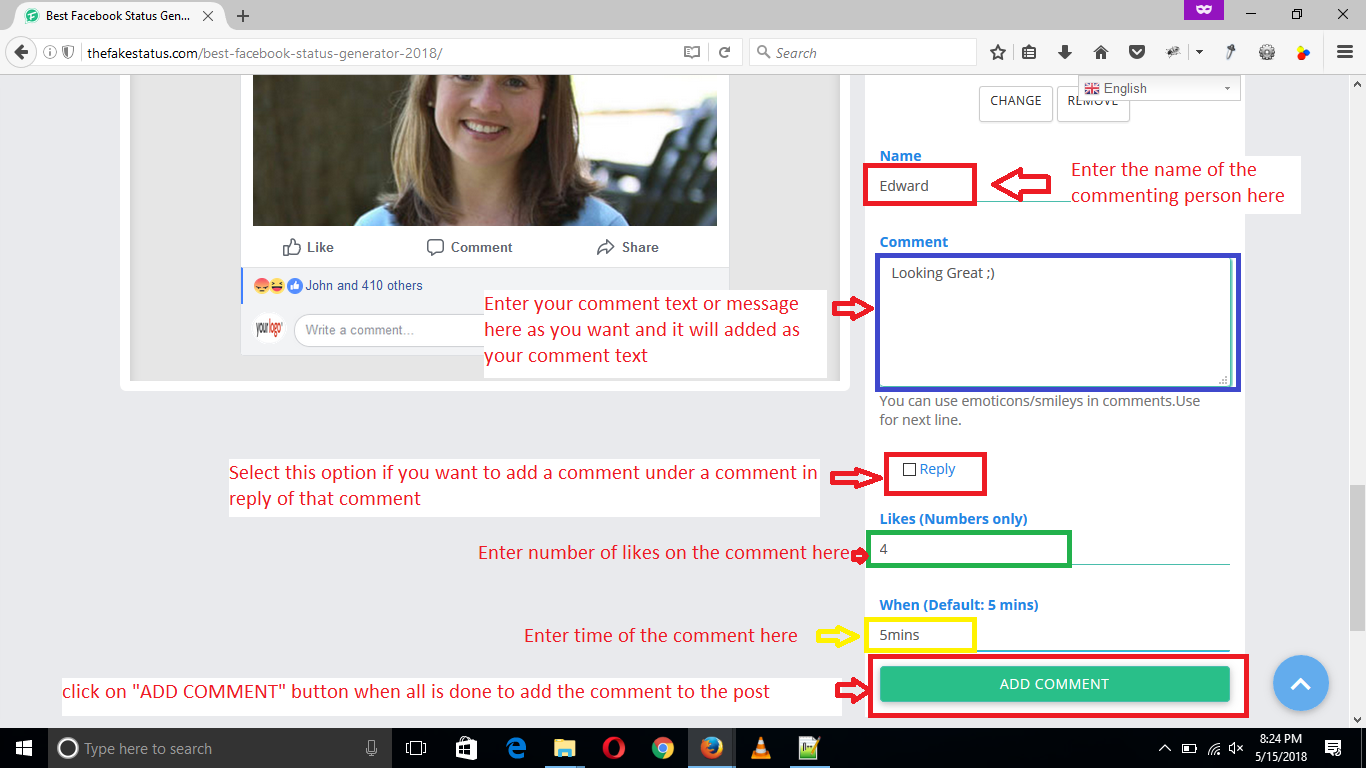
Just below the “Profile Photo” there is a heading “Name”, you can change the commenting person name from here.Write the name of the commenting person in the text input field under the “Name” heading.
Just below the “Name” there is a heading “Comment”, you can change the comment text or message here.Write your comment in the text input field under the “Comment” heading.
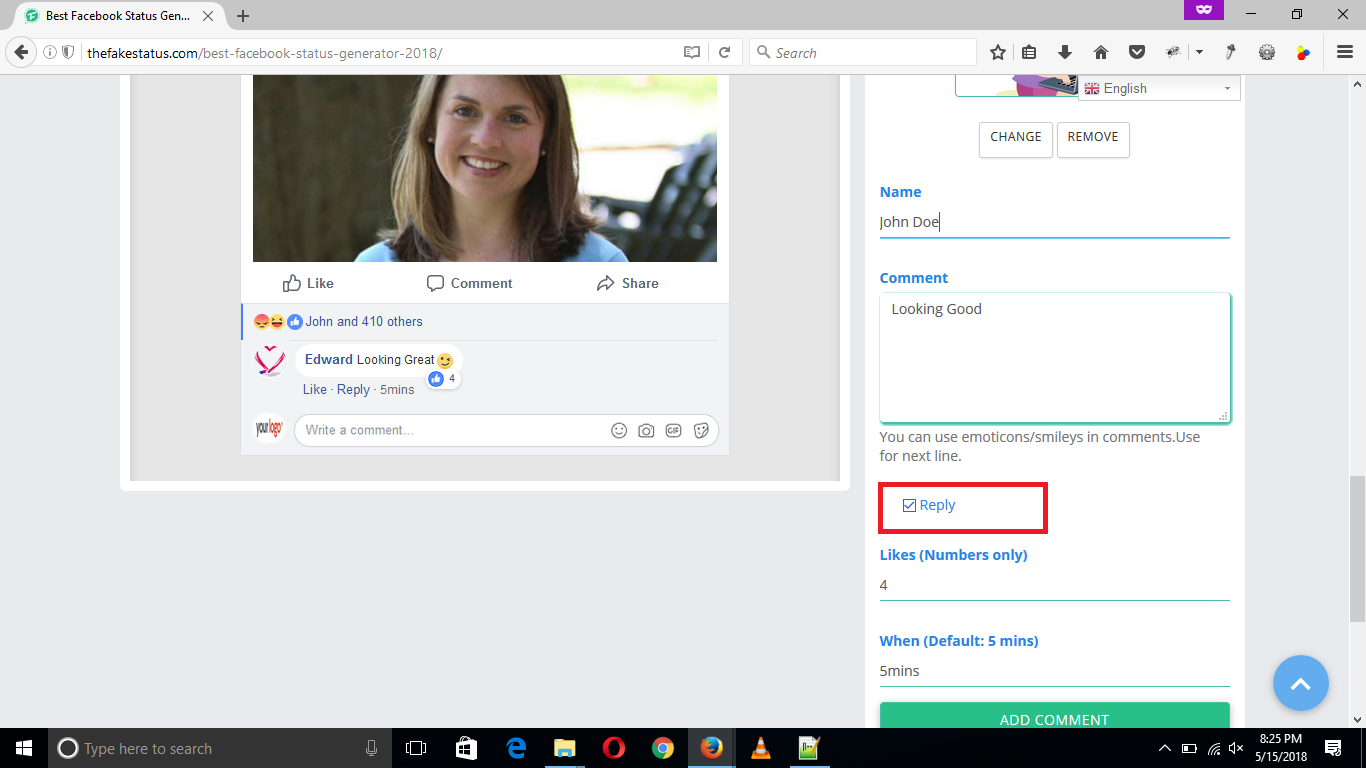
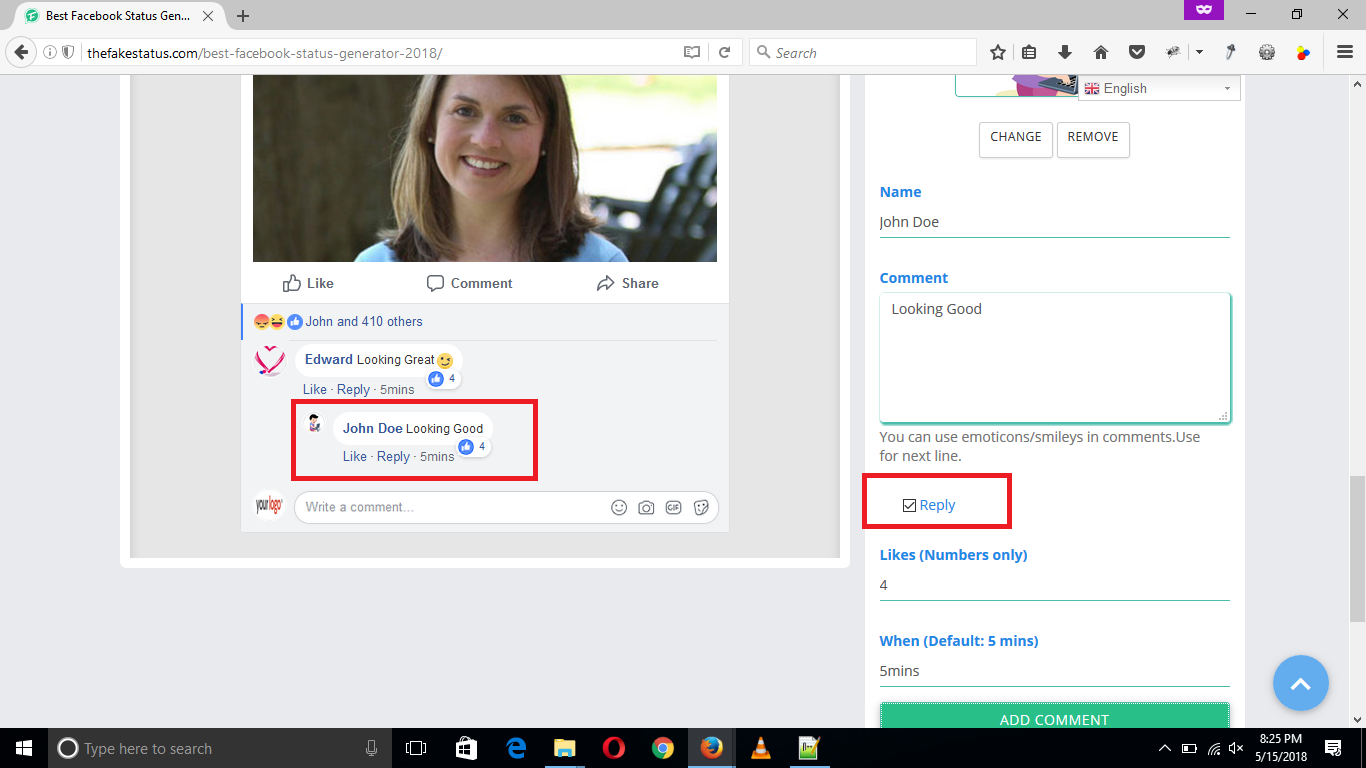
Just below the “Comment,” there is a checkbox “Reply,” Select this checkbox if you want to write a reply to the comment under that comment; otherwise, leave it unchecked if you want to add your comment as a new comment.
Just below the “Reply” checkbox, there is a heading “Likes,” you can change the number of likes on the comment here. Write the number of likes in the text input fields under the “Likes” heading.
Just below the “Likes,” there is a heading “When,” you can change the time of the comment here. Write the time of the comment in the text input fields under the “When” heading. By default, the time for each comment is set at 5mins.
After completion, click on the “ADD COMMENT” button to add the comment to the fake facebook post according to the settings made above.
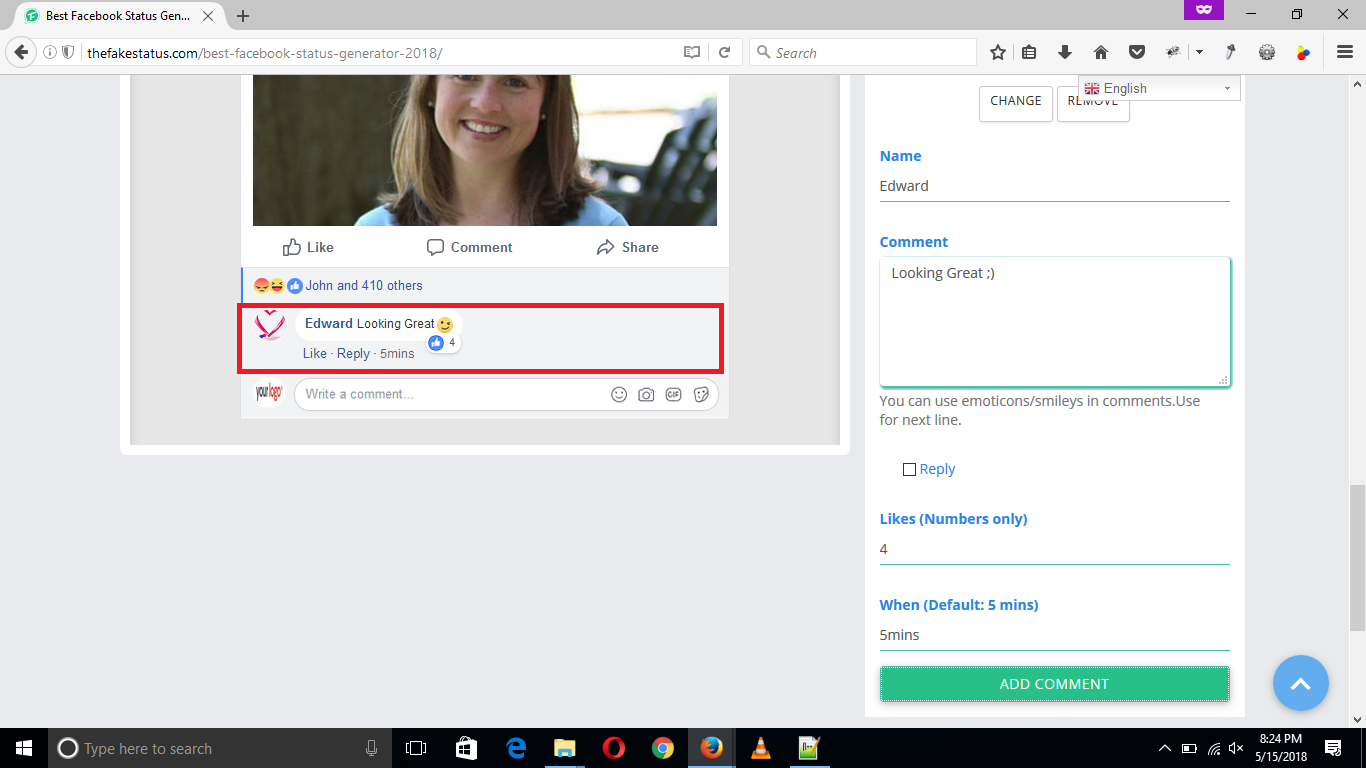
(Adding Comment as Reply of a Comment)
Just below the “Comment” there is a checkbox “Reply”, Select this checkbox if you want to write a reply of the comment under that comment otherwise leave it unchecked if you want to add your comment as new comment.
If you want to add a new comment under the comment then leave the “Reply” checkbox unchecked then your comment will be added as a new comment.
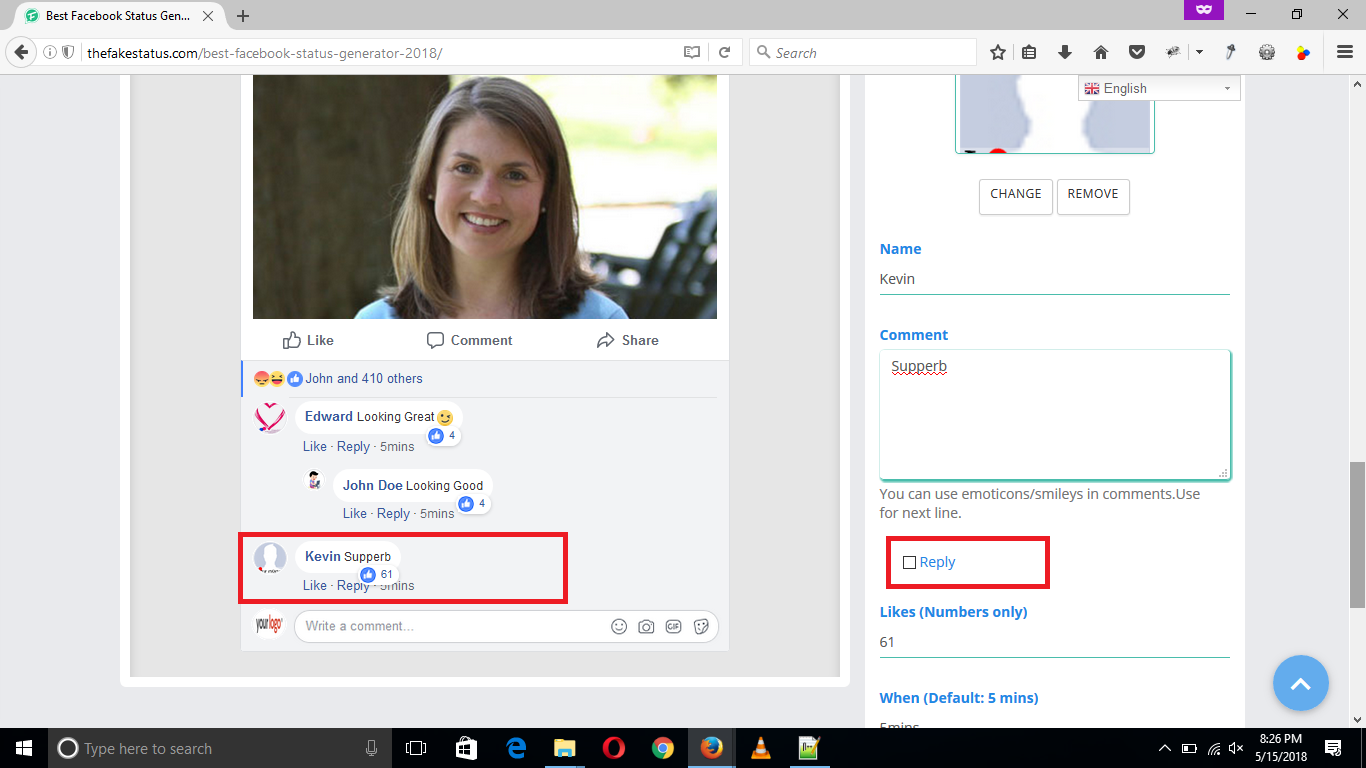
Final Step:-
Now scroll up to the “SAVE IT” button to save you Fake Facebook Post and to generate its sharing & download links.

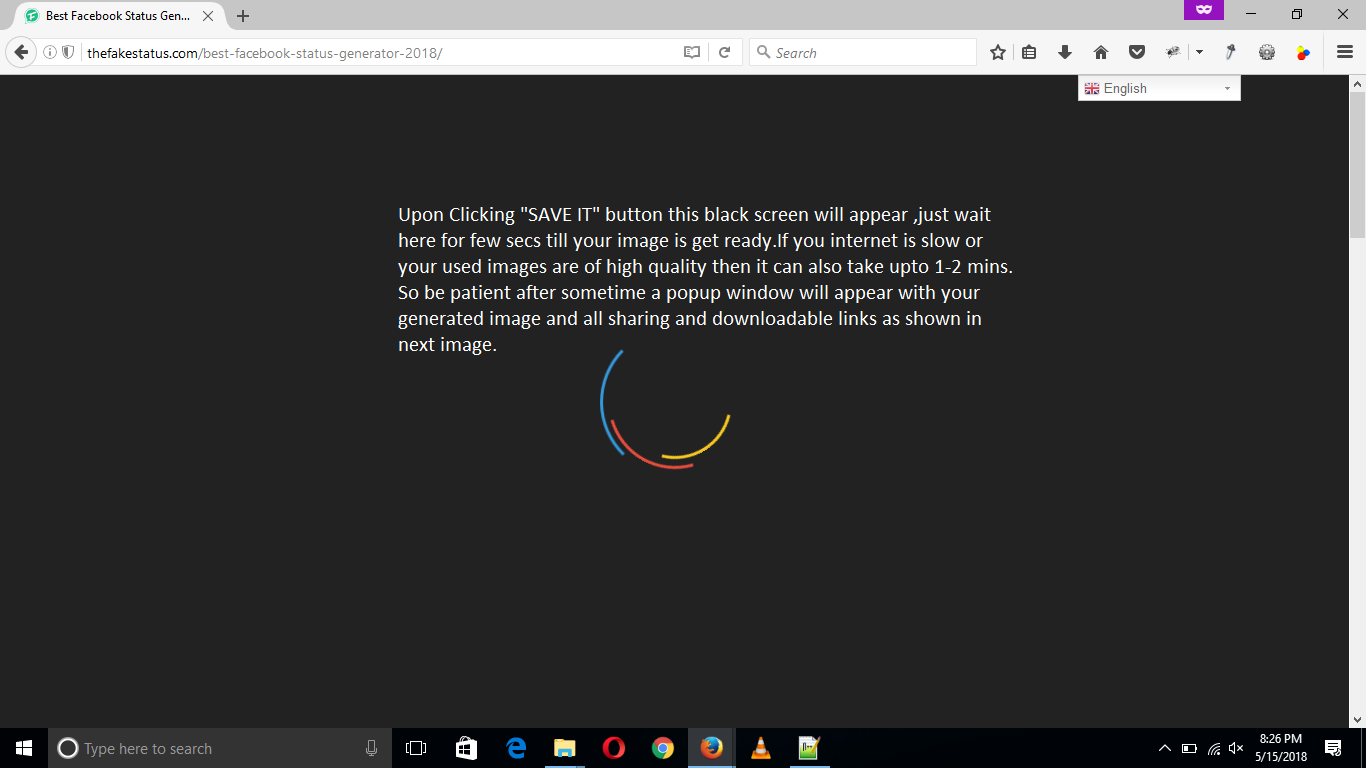
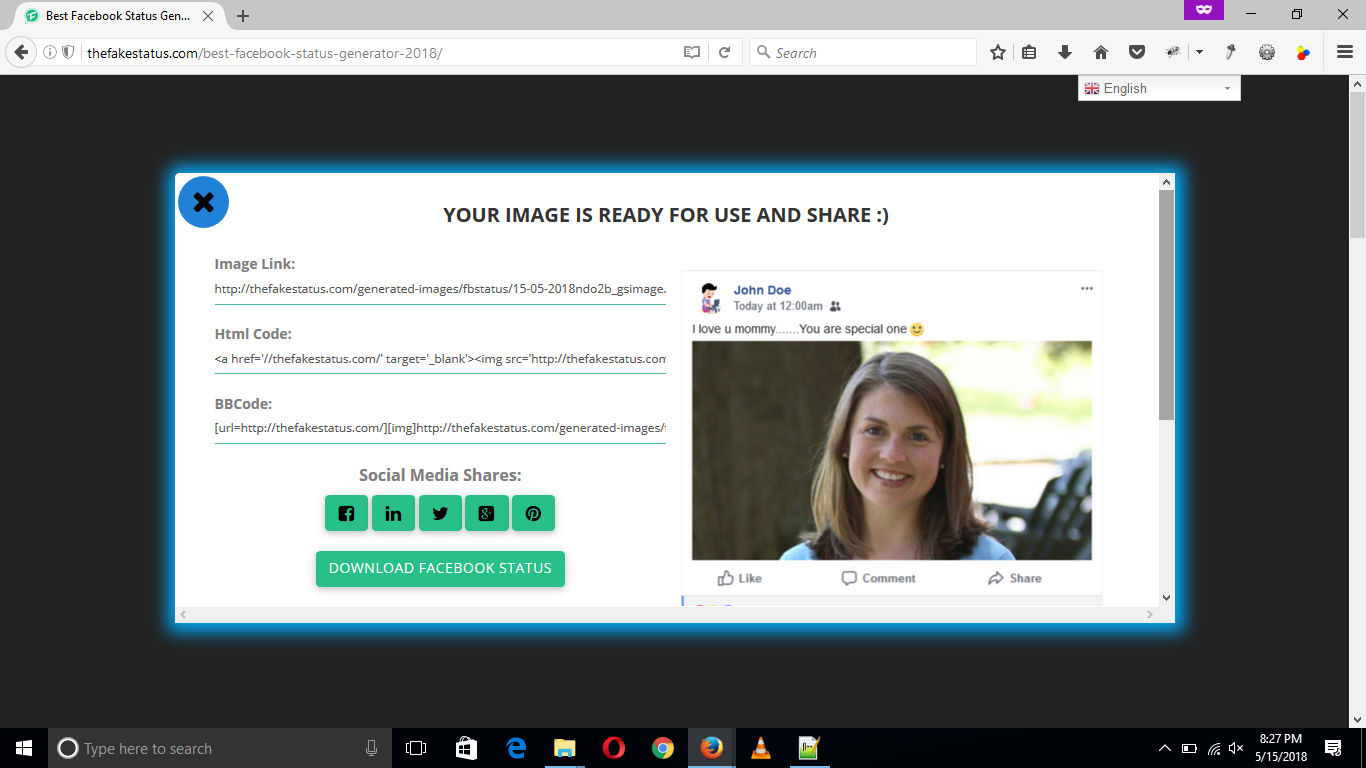
On clicking the “SAVE IT” button the loader will start and after some time a new window will popup with the download and sharing options for your generated post
